Student Guide
Overview
A Student in WPLMS is basically any registered user on the site. All users which appear in the users table or the WP Admin - Users are considered as student. A Student is a user who has a profile and can pursue courses in the system.
Once a user is registered on the site, the WPLMS (or any BuddyPress site) would not ackowledge it unless he/she logs in the site. Once the user is logged in, it will start appearing in the user's directory. So for WPLMS to recognise the user as a student, the user must login to the site at least once.
In this guide we'll learn how a student interacts at various points in the WPLMS site. Student have lesser rights than instructors and administrators. Here are the students rights given below:
- A Student can pursue courses.
- A Student can purchase courses.
- A Student can rate and review courses, access free units.
- A student can check his own results, view course statistics.
- A Student can send a private message (Private Messages) to instructors.
- A Student can create friends. (Create Friends)
- A Student can create followers (To Create Followers).
Become A Student
With WPLMS installed, Memberships should be enabled in WordPress and the default role selected that of a Student. In BuddyPress Settings -> Pages, a page should be connected to the registeration page.
Register
- To register a student can simply click on the signup link in the header or the signup button in the Login panel.
- If the WP FB Auto connect plugin is installed and connected with the facebook APP the student can simply click on facebook button in the Login form to sign up or login in the site as a Student.
- On clicking the page the student is taken to the Registeration page.
- Student should fill all the details in the registeration page and click on complete signup button at the bottom of the registeration form.
- After this, the student gets an email at the registered email address with an activation link.
- The Student account is finally created in the site only when student clicks on the activation link.
- Student can now login in WPLMS using the login/password credentials entered in the registeration form.
Profile Fields
- Login to the WPLMS site
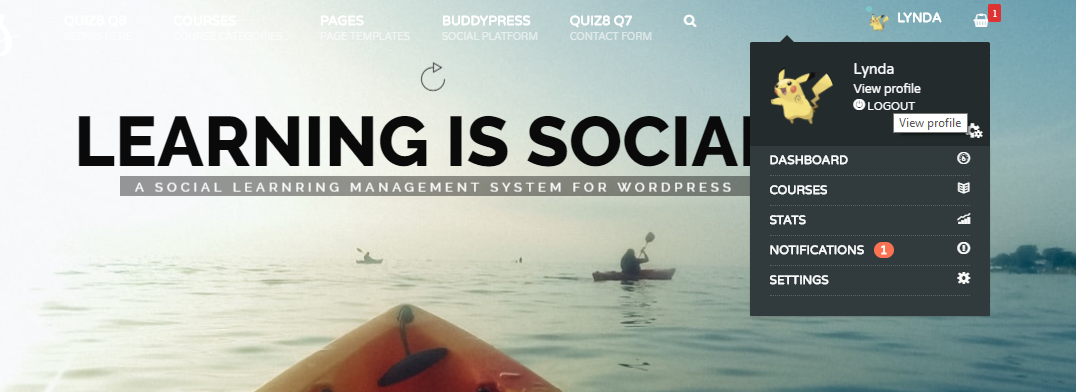
- Click on View Profile link in the Login panel
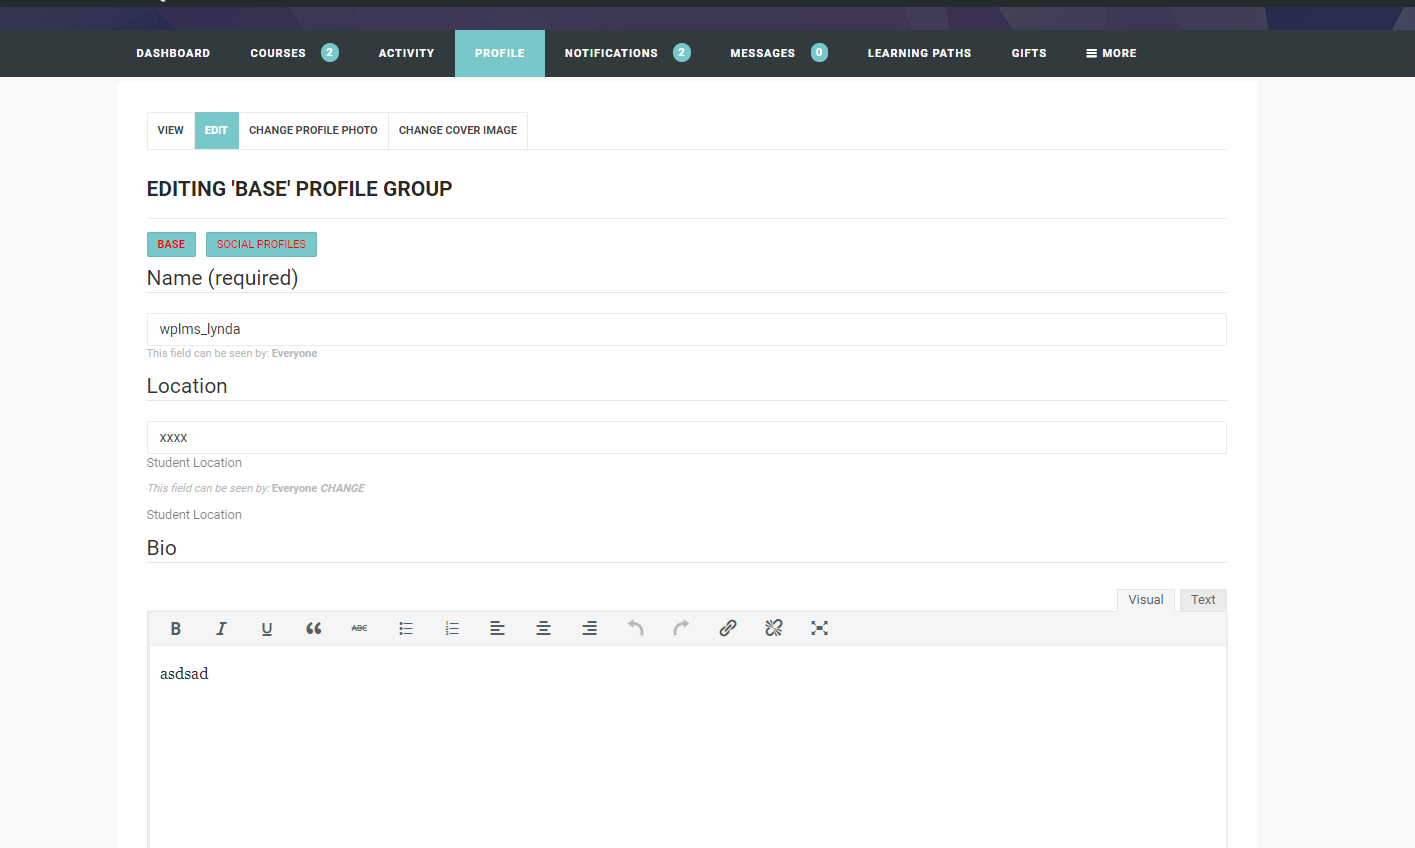
- Click on Edit button to edit the profile.
- Enter the fields, there may be multiple field groups which the student can switch to fill the details.
Avatar
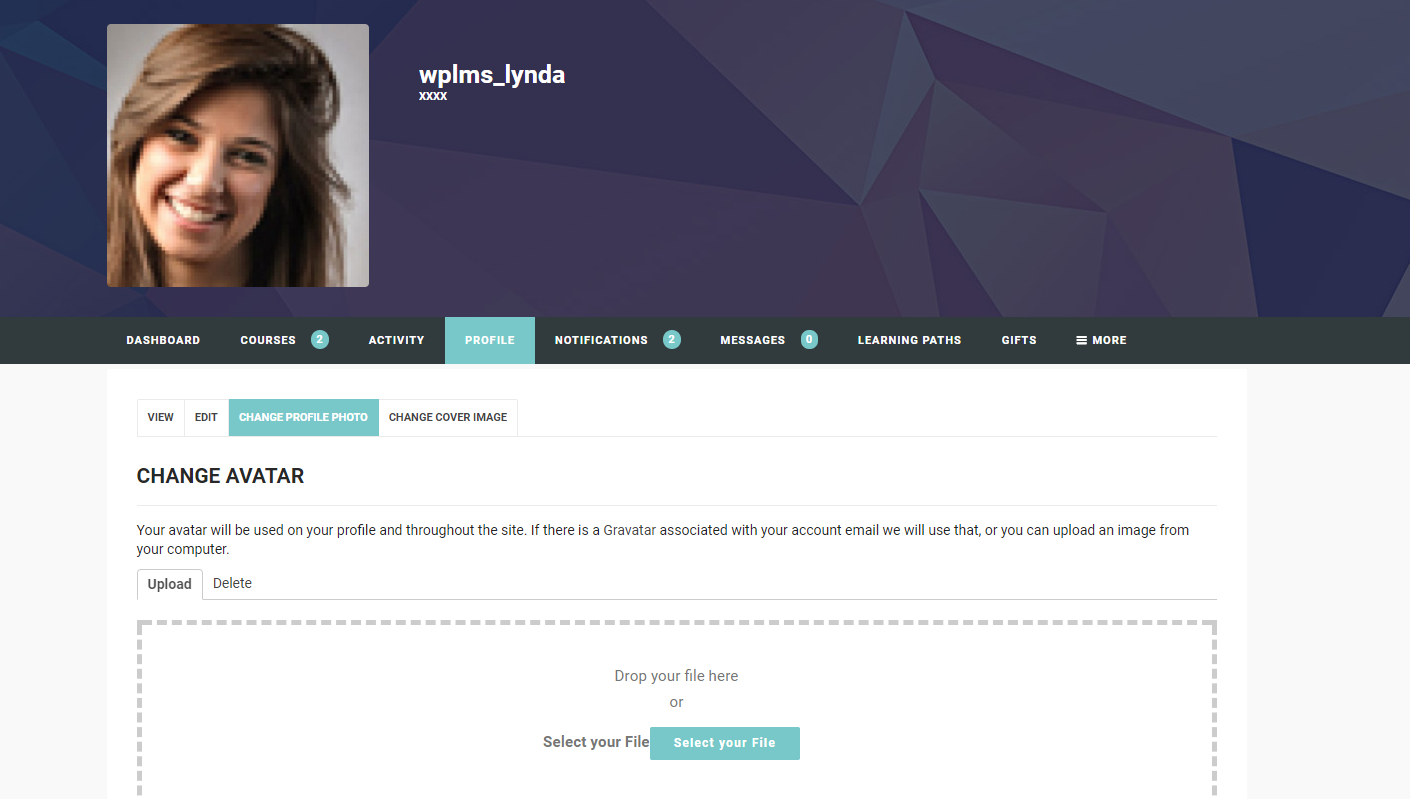
A Student can change her avatar from the edit profile section itself. The Avatar edit section can be located in the profile section. The student can simply edit the avatar, delete the avatar or upload a new avatar. Upon uploading the new avatar the student can also crop it to a fitting size.
Student Menu
- Dashboard : Student can view his own course progress, no of units completed, finished courses, his statistics, can prepare his to do tasks,course events. It is same like instructor dashboard.
- Courses : This section consits number of completed courses by students, the courses in which student is enrolled. It consists of further three subcategories : My Courses, Results, Stats
-
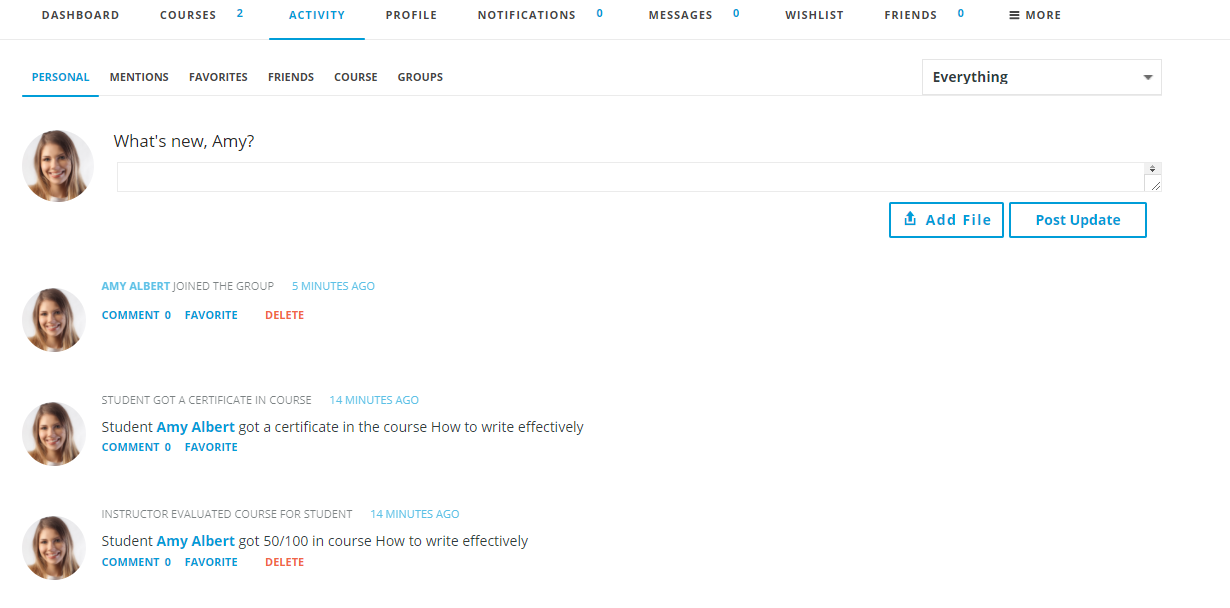
Activity : This section records the activities of student. It consists of further 6 subcategories:
- Personal
- Mentions
- Favourites
- Friends
- Course
- Groups
- Profile : Student Profile is visible here where he can upload cover image as well as his profile image.
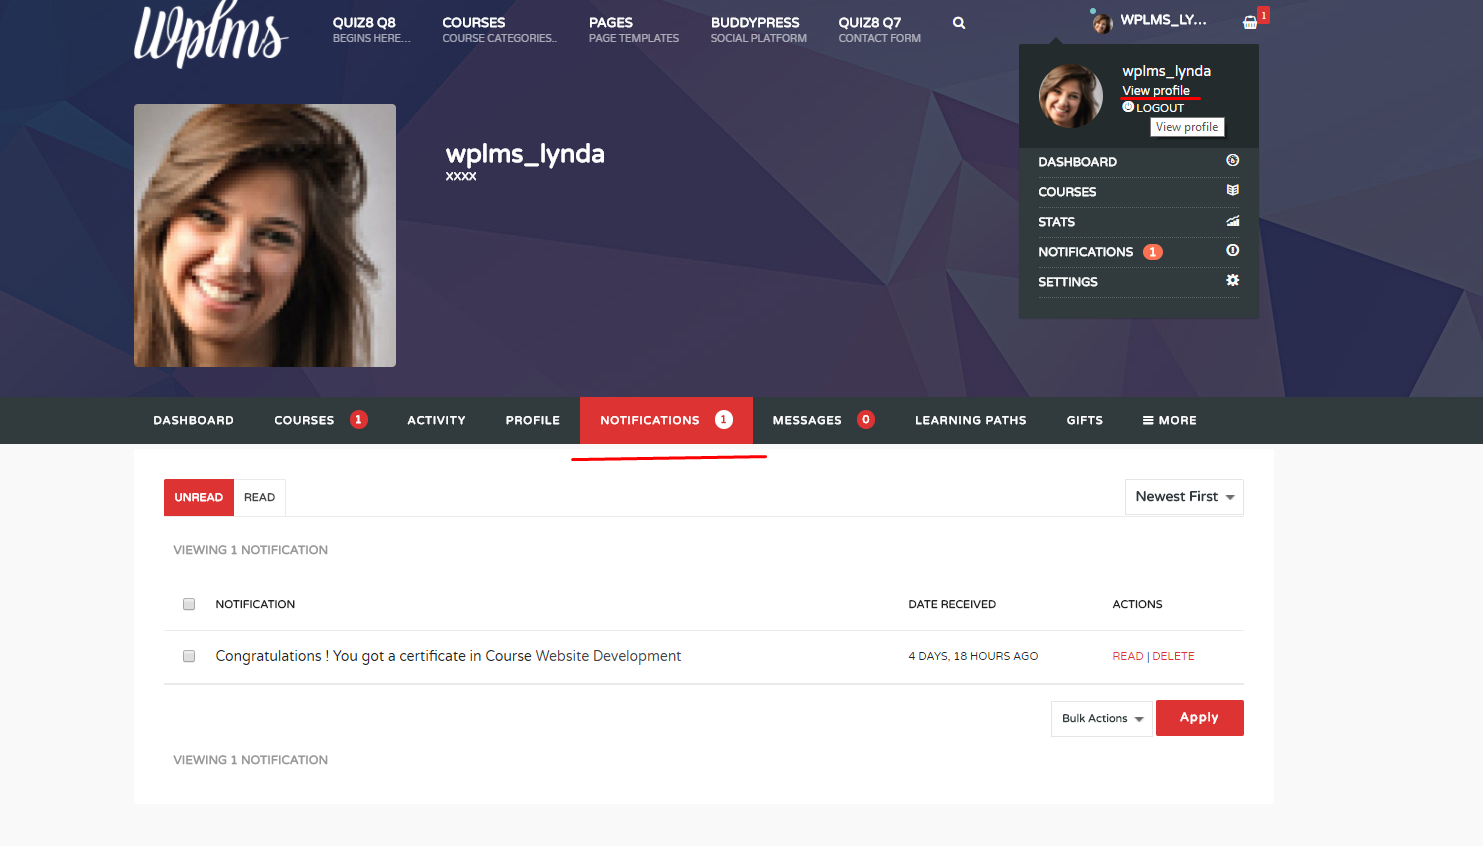
- Notifications : All the notifications are visible in this section(e.g. instructor notifications, course evaluated, course reset for student)
- Messages : All the messages send to students is visible in this section.
- Wishlist : User/Student Wishlist is visible in this section
- Friends : Whenever someone send you friend request, that will be visible in this section. And, if you are already a friend with someone then that wil also be visisble in this section under friendship subcategory. You can also send friend request to someone. For that access site url/members, it will display list of all members now just click on add friend and when that person accepts your friend request. Both of you become friends.
- Groups : Groups membership and group invitations will be visible in this section.
- Forums : It consists information like topic started in the forum, replies created, favourites, subscriptions.
- BuddyDrive : It records the file sharing between members, between friends via buddydrive feature.Buddydrive Integration with WPLMS Tutorial
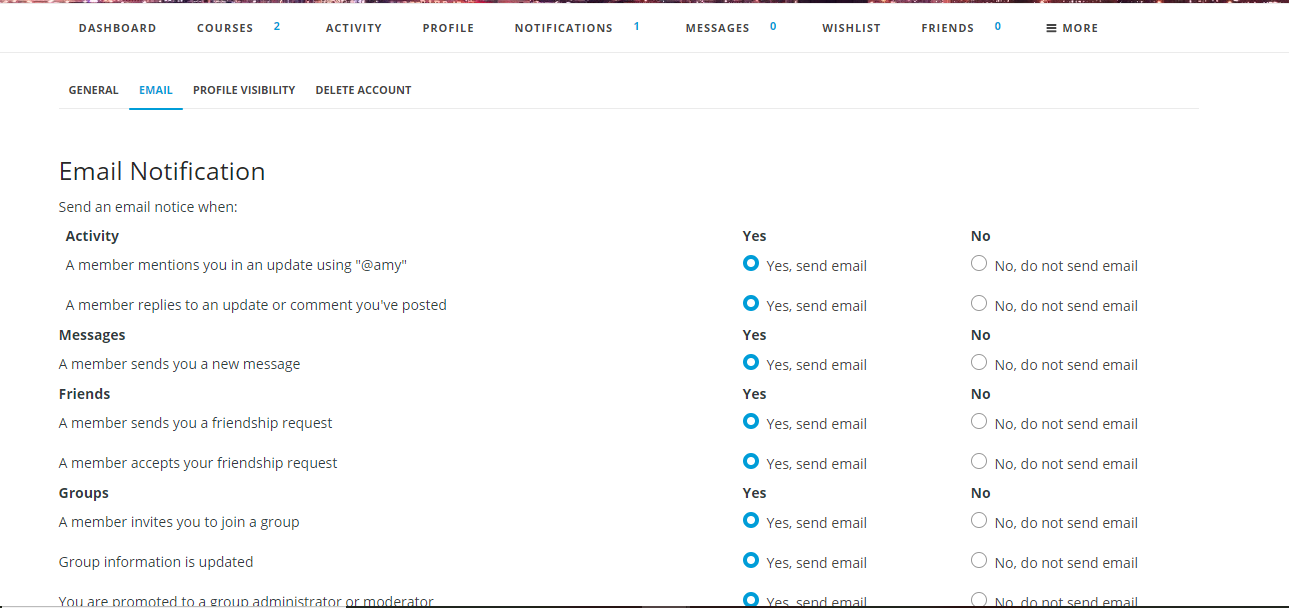
- Settings : It consists general settings such as changing your password, resetting password, email notifications, setting for your pofile visibility, delete, account.
- Achievements : Display your achievements.
Taking Course
This section covers all the aspects of Student pursuing a course in detail. Right from browsing the course, to purchasing, completing the course, checking the results for the course and finally submitting the course and getting a badge or certificate of the course.
Browsing
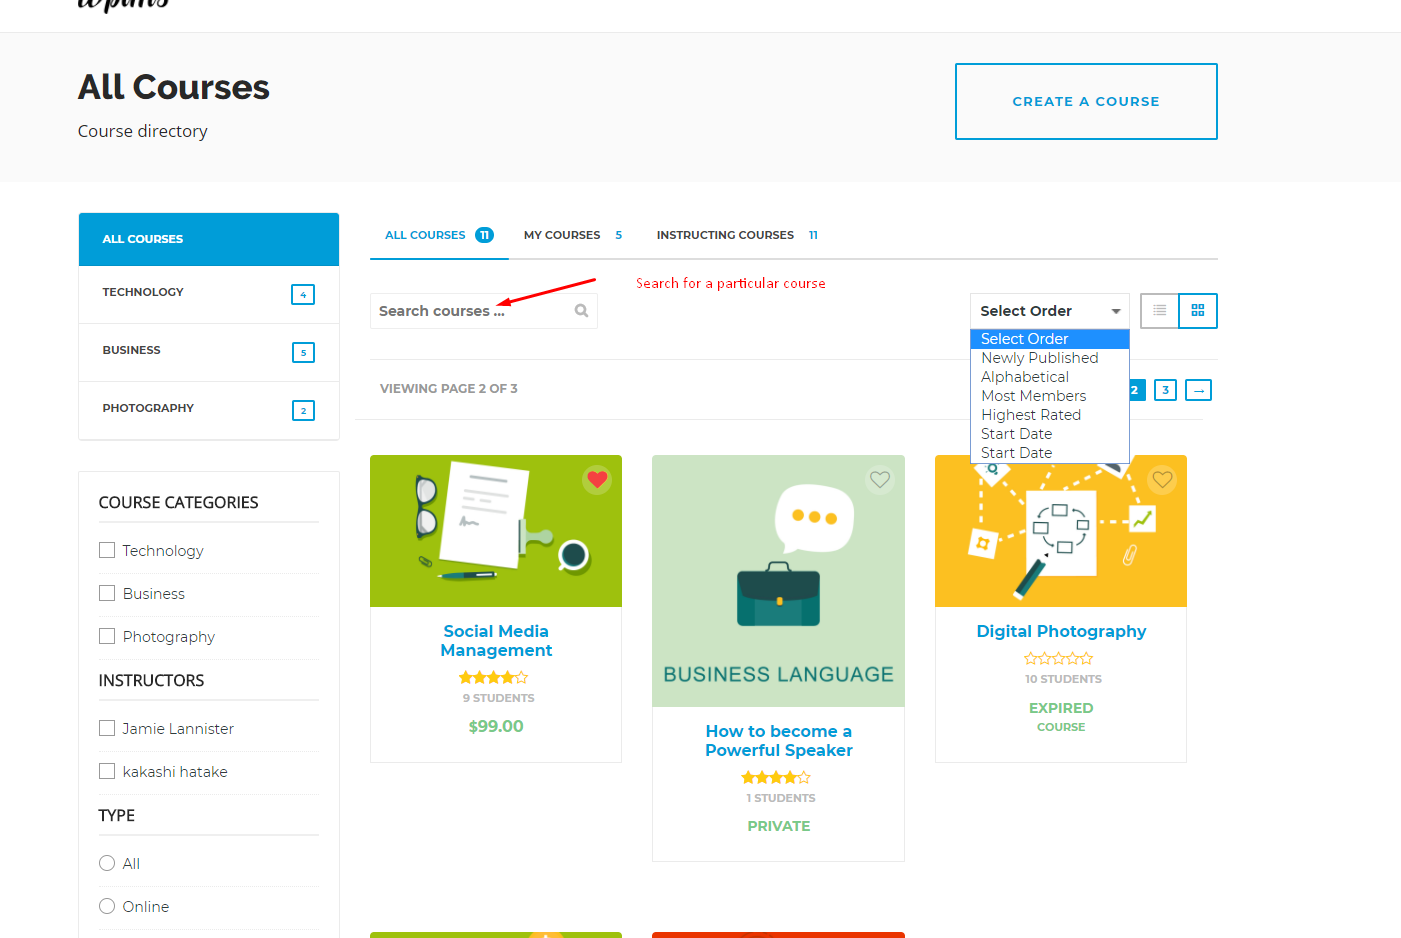
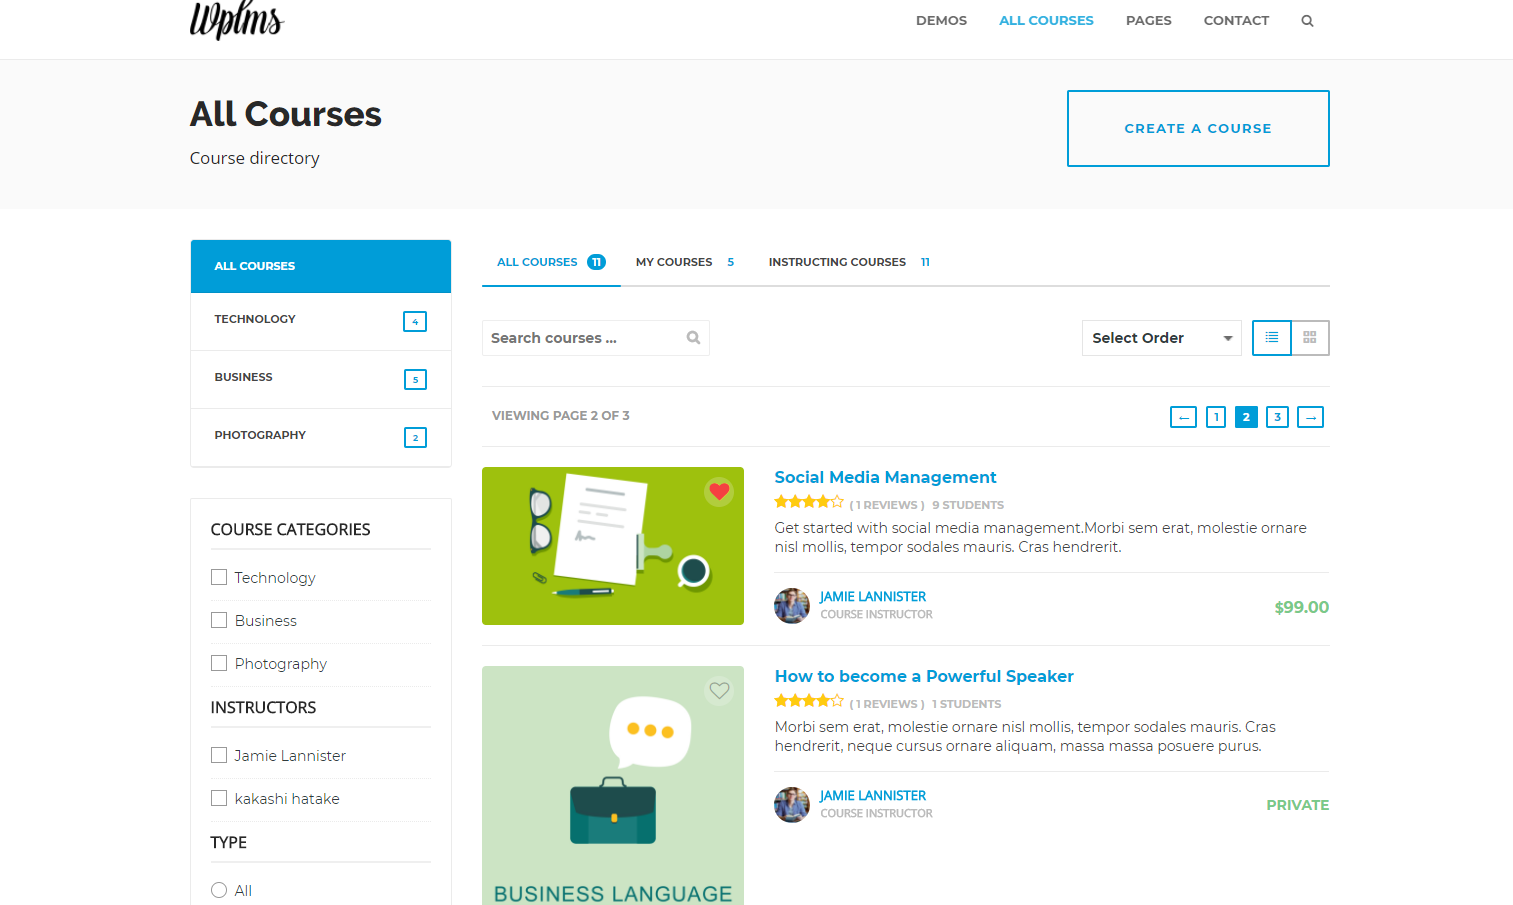
A student can browse through all the courses through the Course directory. The course directory consists of all the courses from all the instructors. Each course line in course directory shows the Title of the course, a short description of the course, the price of the connected product for the course, the ratings, review count of the course and the total number of students which have taken the course.
A student can use the search bar to search for a specific course. A student can sort the course directory. Following are options available for sorting the directory:
- Alphbetical : Shows the courses in Alphbetical order.
- Newly Created : [Default] Shows the courses in Date published order.
- Most Members : Shows the courses in Student count order.
- Highest Rated : Shows the courses in star Rating number order.
After finlaizing on a course, the student can simply click on the course name to see the course page.
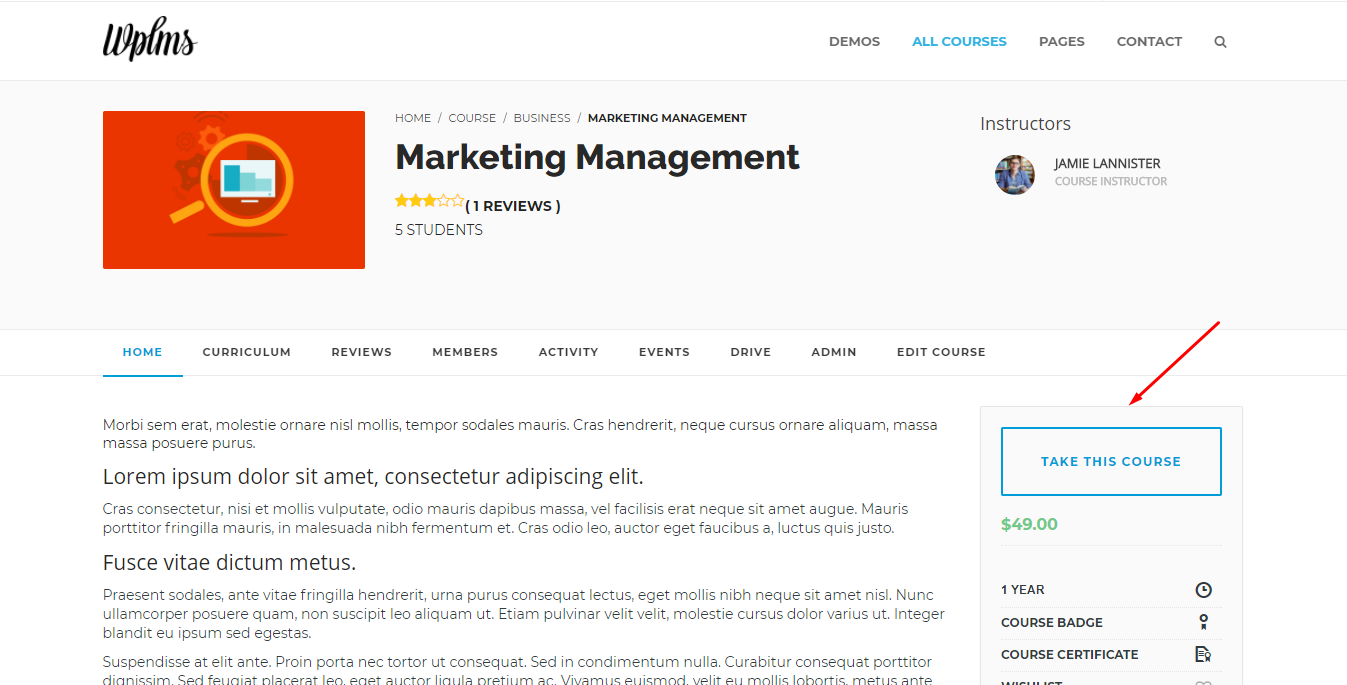
The course page contains several details for a student to decide on to take the course.
- Vital Information is located on top right corner with information like : Required Pre-Course, Price of Course, Course Badge, Course Certificate.
- Course Description is shown on the course home page
- Course Reviews are shown at the end of the course description
- Total number of students who have taken the course.
- Students Taking the course can be seen in the Students section in the Course home.
- Student can also view course curriculum.
- Student can click on Free units to go through each unit.
Purchase
- To purchase the course a student simply needs to click on "Take the Course" button, the student is then redirect to the connected product for the course.
- A connected product can be of One time payment type or Subscription type
- A Student can also browse through the Products and there may be products which may offer a combination of courses.
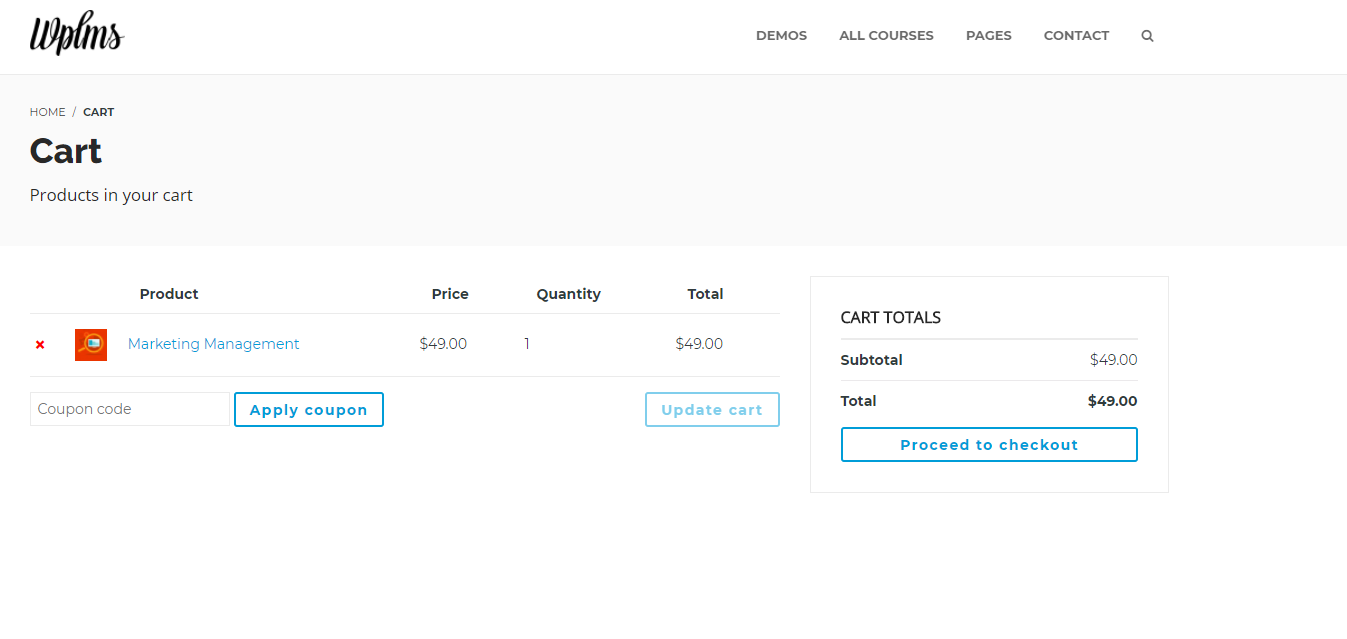
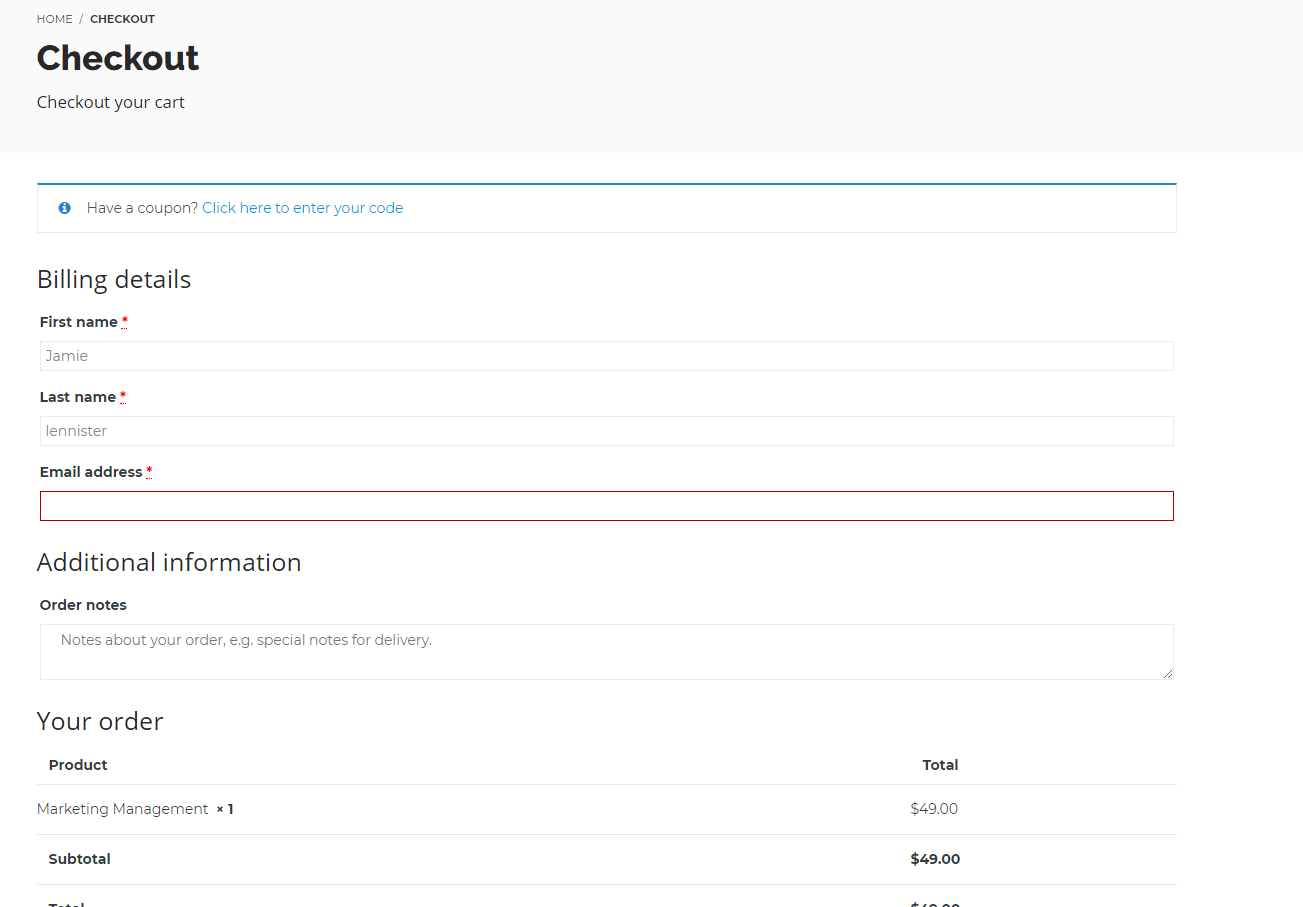
- Student can simply add the product to the cart and proceed with the purchase process to purchase the product.
- After Purchasing the product, student is automatically connected to the course group and forums.
Start Course
- Once the student has purchased the course, the student is eligible to take the course. If a course has Pre-Required course then the student can not start the course unless the pre-required course is finished and evaluated by the instructor.
- Once the course has been started the student can access the course units and can access the course timeline.
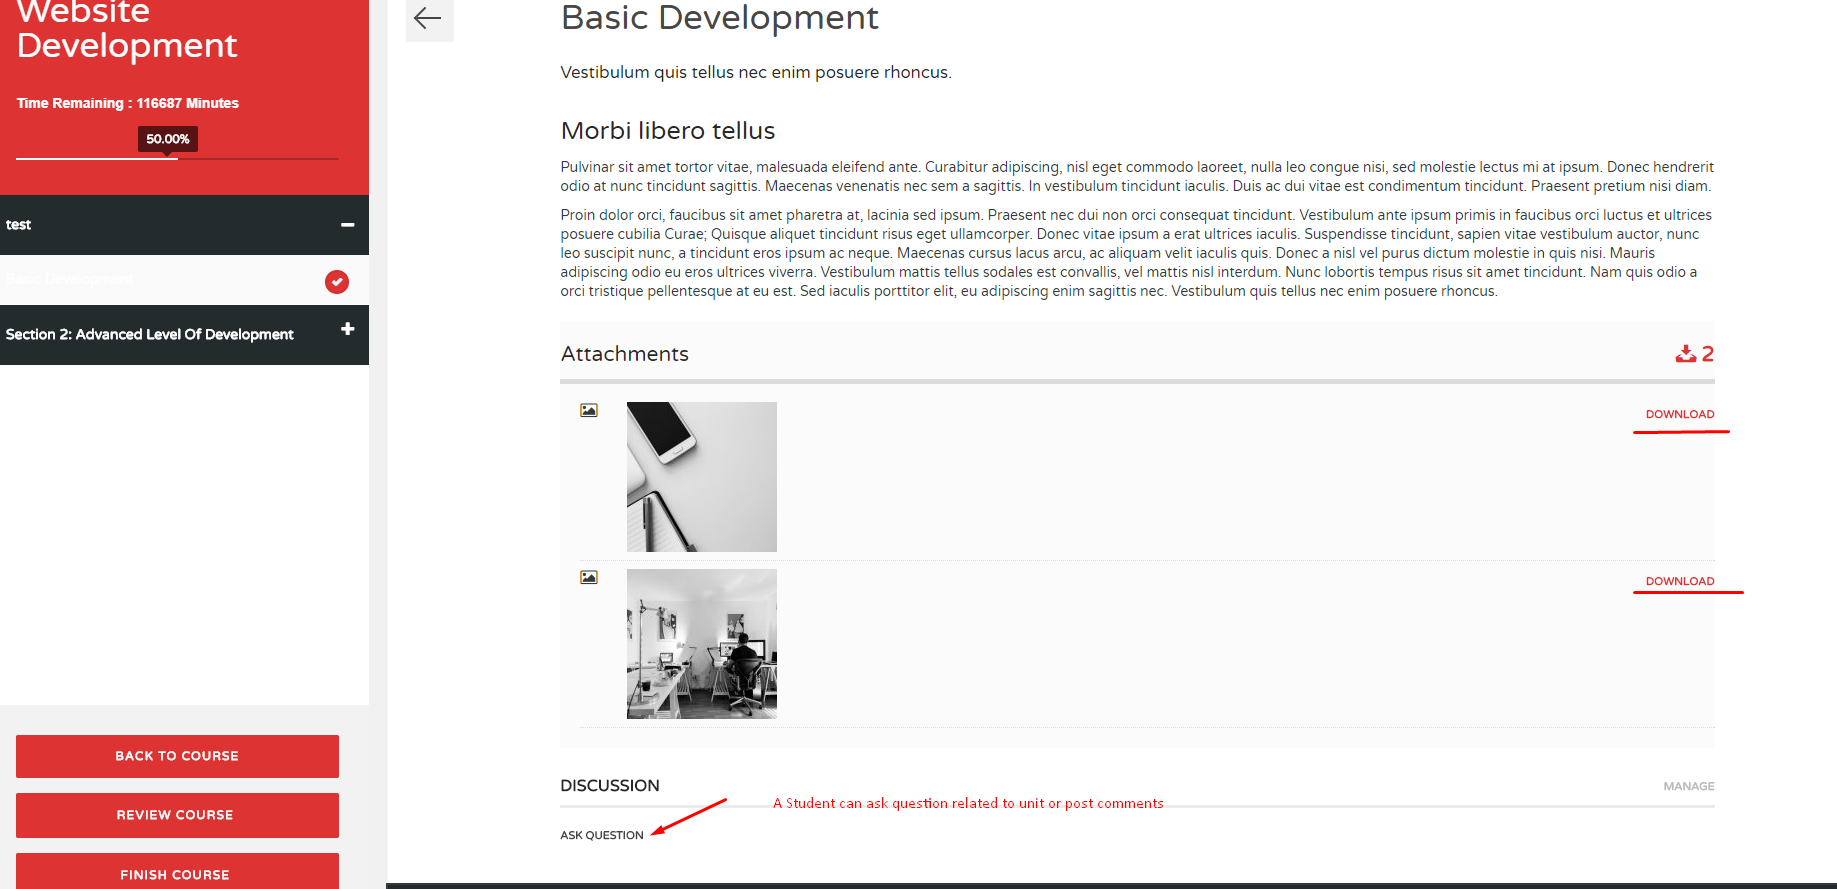
- Each unit may be connected to a Unit forums where a student can ask questions and interact with the Instructor and other students.
- A student can also download attachments for each unit. A student can also download attachments uploaded in the group.
Completing Units
- After the student has finished with a unit, the student can mark the unit complete.
- To mark the unit as complete the student simply needs to click on the link at the bottom of each unit "Mark Unit complete".
- Once the Unit is marked as complete, a green colored dot appears on the course timeline in front of the marked unit.
Taking a Quiz
- Quizes are an integral part of WPLMS. Quiz are independent units which can or can not be connected to any course.
- A student can simply click on the Quiz in the course timeline to being with the Quiz.
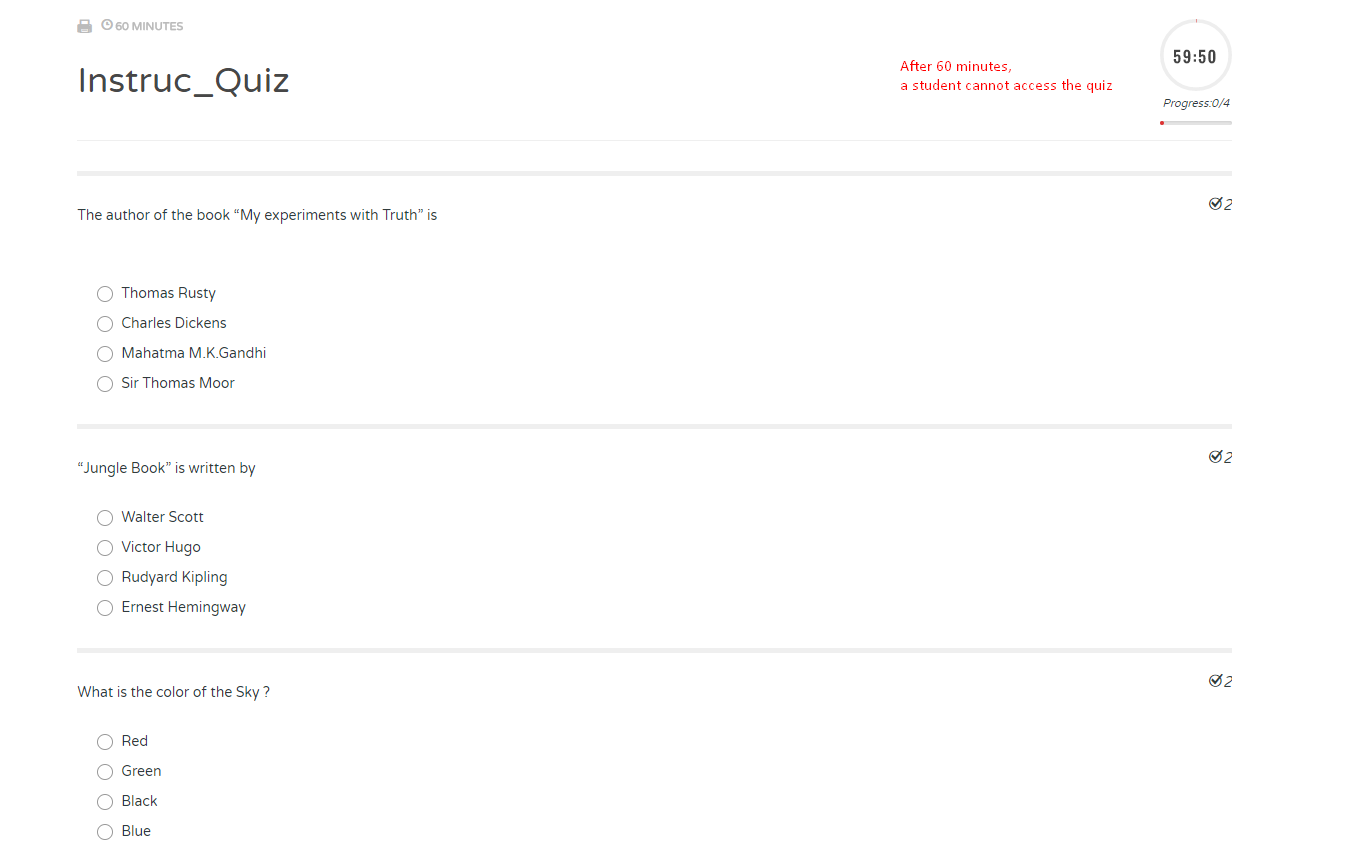
- Upon clicking the link the student is taken to the quiz interface. The quiz page shows instructions for the quiz.
- To start the quiz the student simply needs to click on start quiz button.
- Once the quiz is started the timer starts running.
- If a student drops out from the quiz, the student can join the quiz within the time allotted for the quiz. Which means the timer will keep on running even if the student is not taking the quiz.
- The Quiz can be submitted by the student simply by clicking on the button Submit Quiz.
- If the student does not submit the quiz and the timer counts down to Zero, the quiz is automatically submitted.
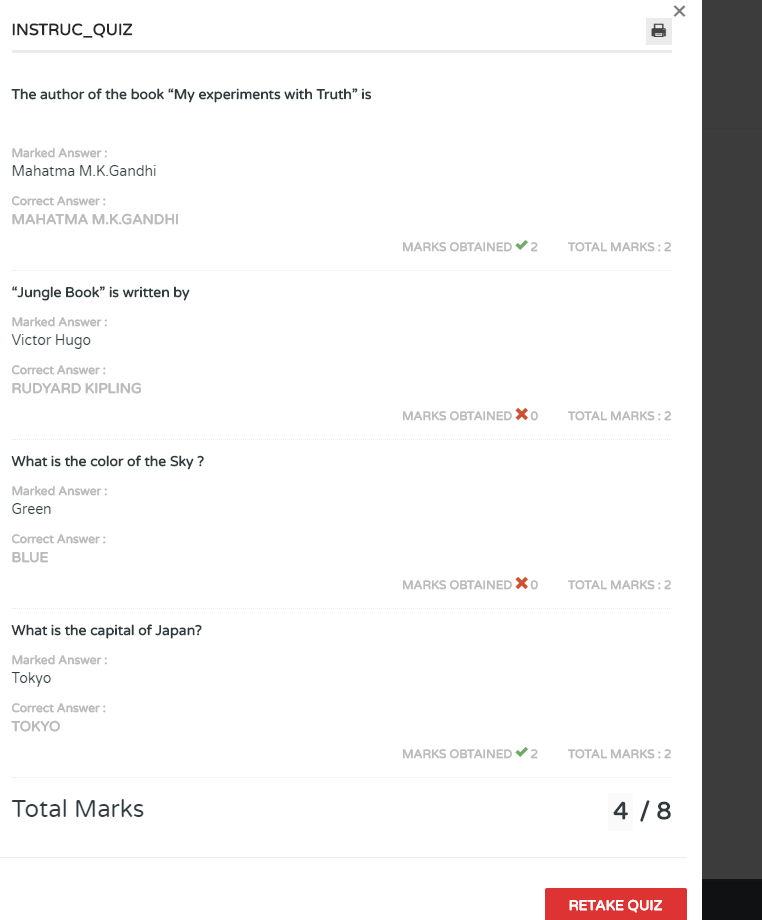
- Once the quiz is submitted the student can check his/her marked answers by clicking on Check quiz results button.
- Now student awaits for instructor to evaluate the Quiz if quiz is set for manual evaluation.
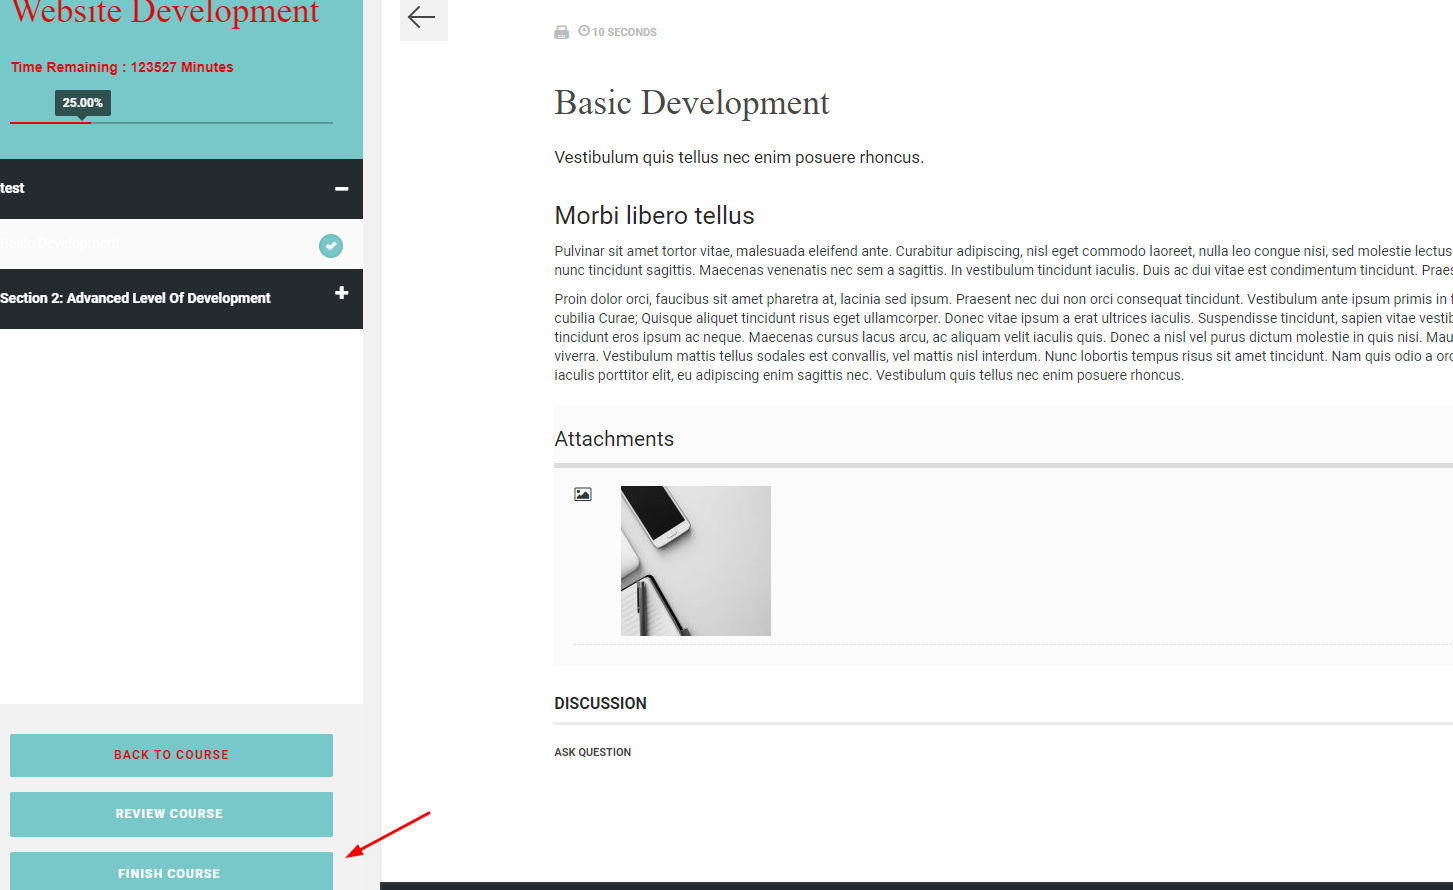
Submitting Courses
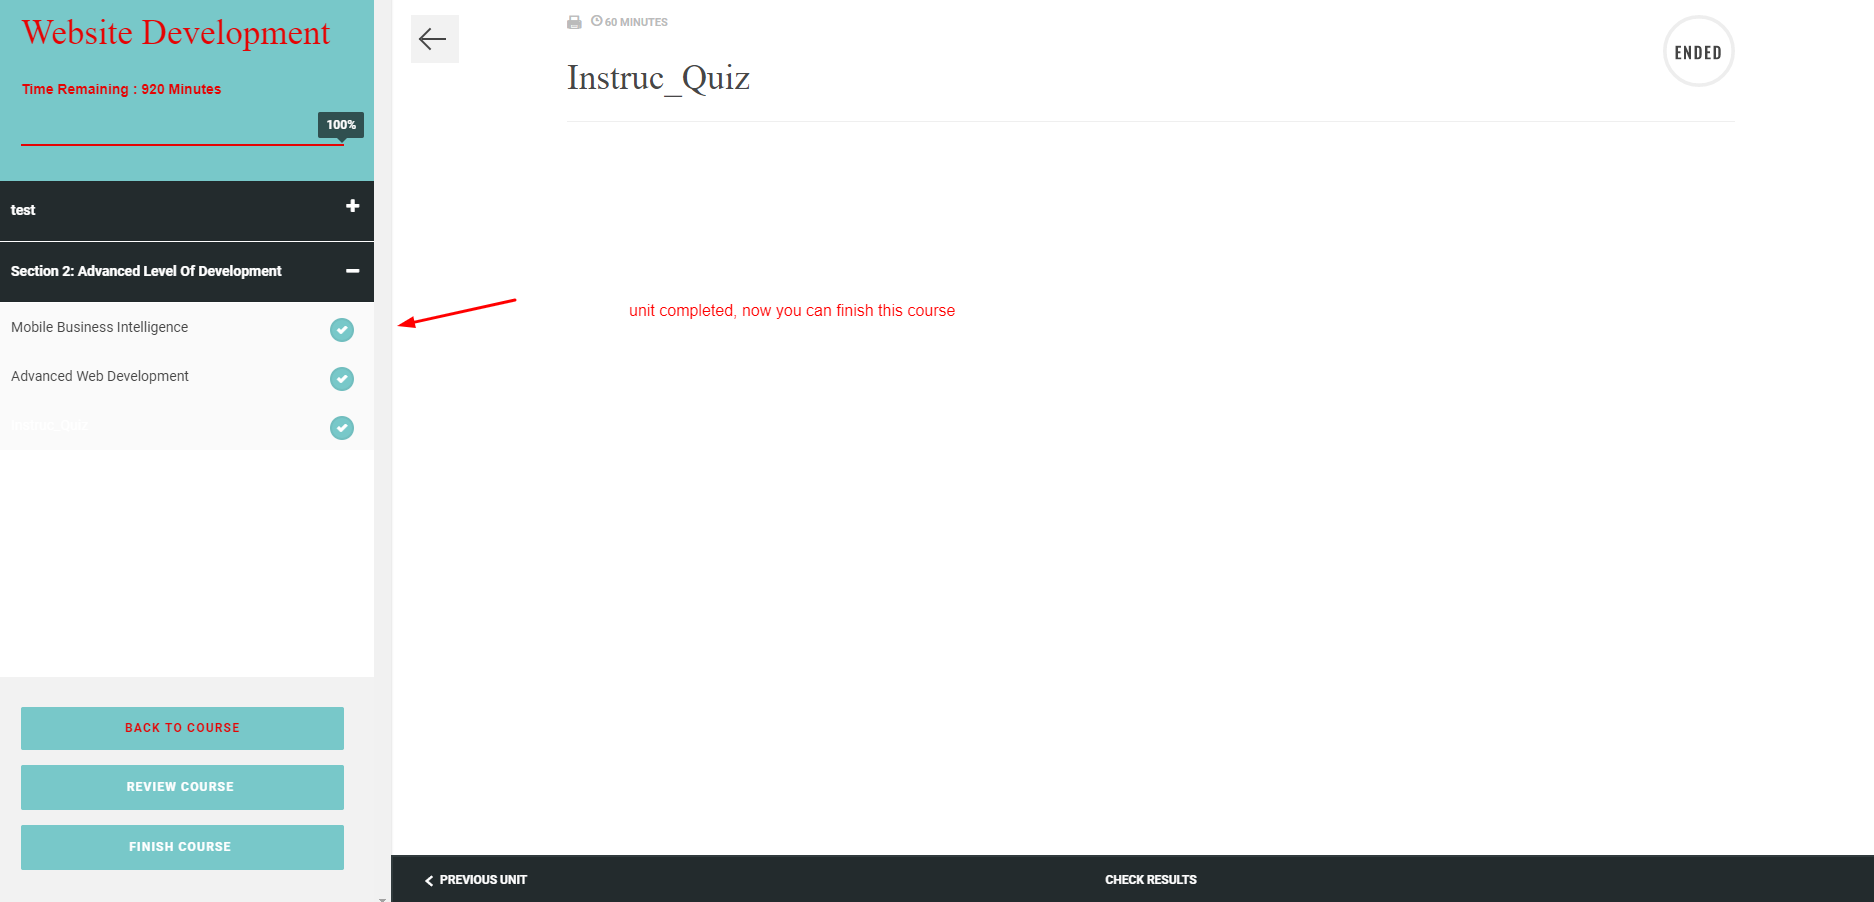
- Once all Units and Quizes in the course are complete
- The student can go to course timeline and click on Finish course button the submit the course for evaluation.
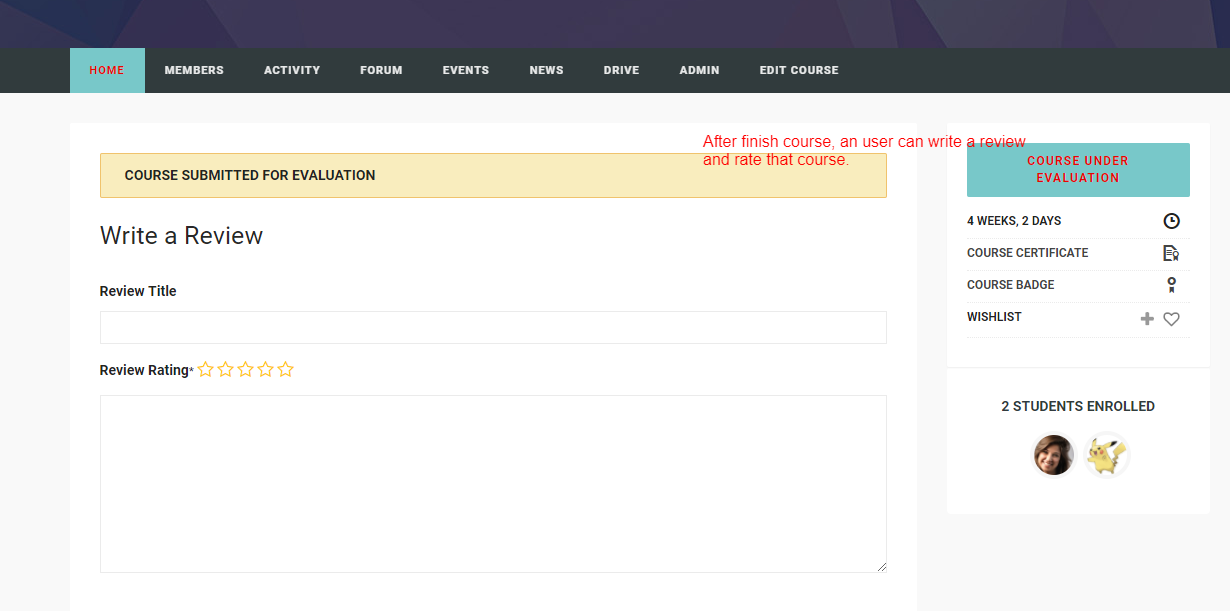
Reviewing Courses
- The course review has to be done after submitting the course.
- To review the course the student simply has to click on Review Course button below the Course Timeline
- The student can now review the course by rating the course our of 5 and giving his/her comments for the course.
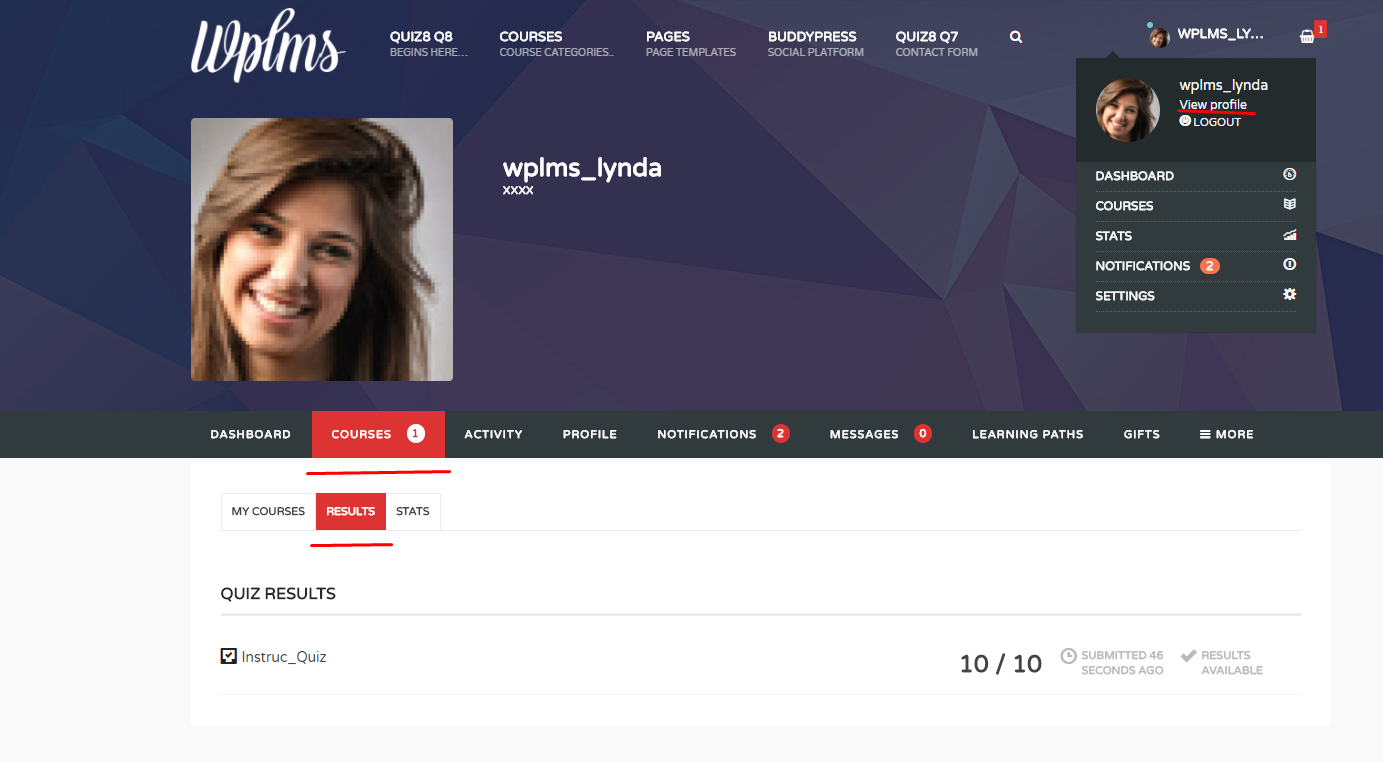
Results
Quiz Results
- Once the students have submitted the quiz.
- The Instructor evaluates the quiz and an automatic message is sent to the students with their marks from link to check the quiz scores.
- The student can also check the quiz results in the Profile -> Courses -> Results section. This feature is basically used when an instructor manually evaluate the quiz. In auto evaluation a student got his result just after submitting the quiz.
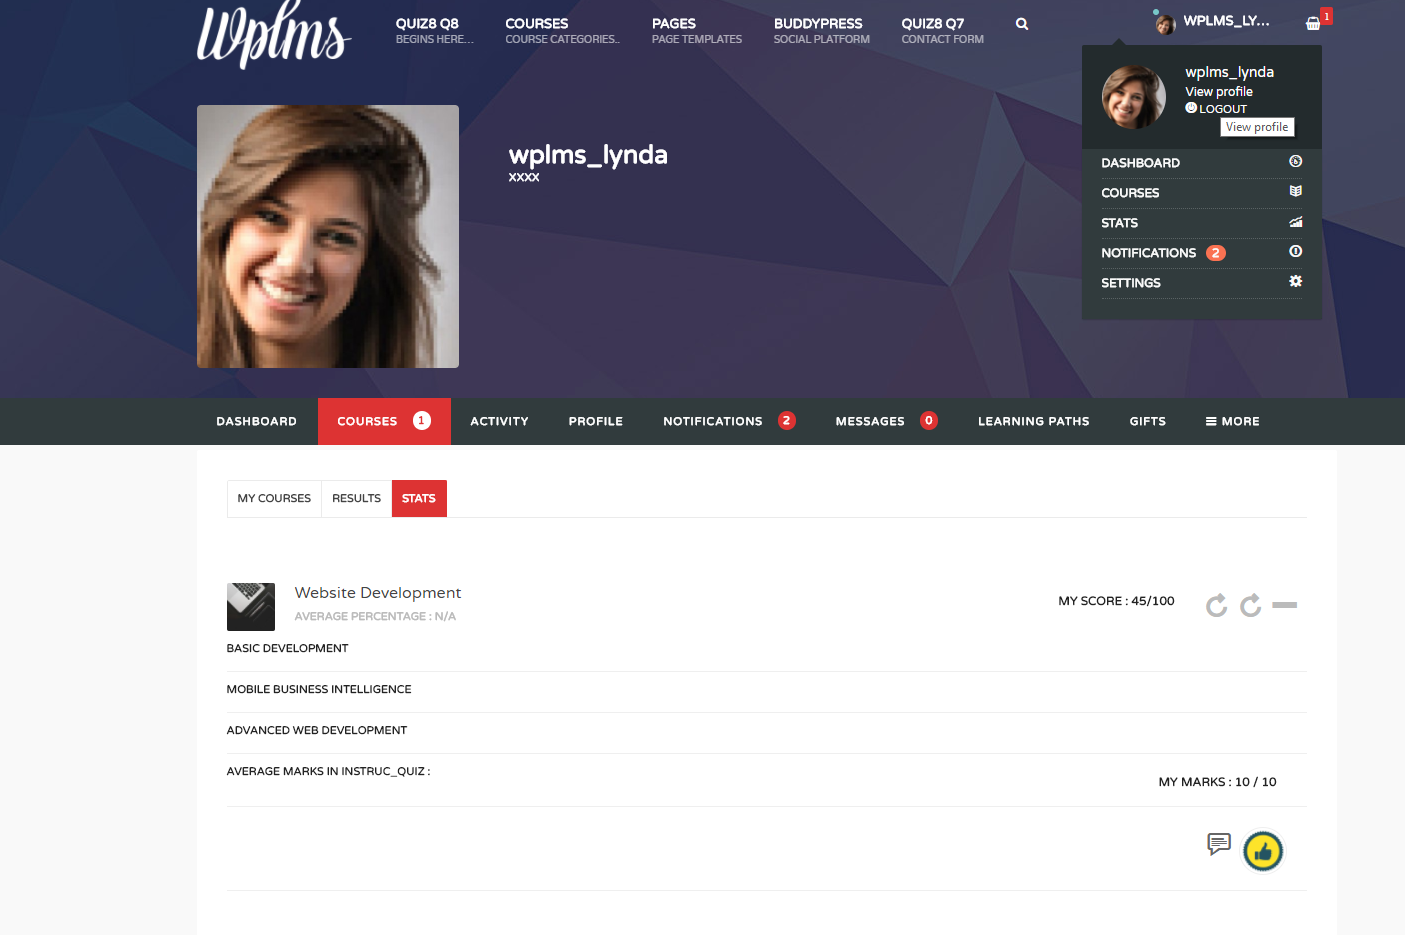
Course Results
- Once the Instructor has evaluated the submitted courses and given marks to each student for course. The student recieves an automatic message and notification. The message contains the percentage student got in the course.
- The student can check the Course percentage in the Profile -> Courses -> Stats section
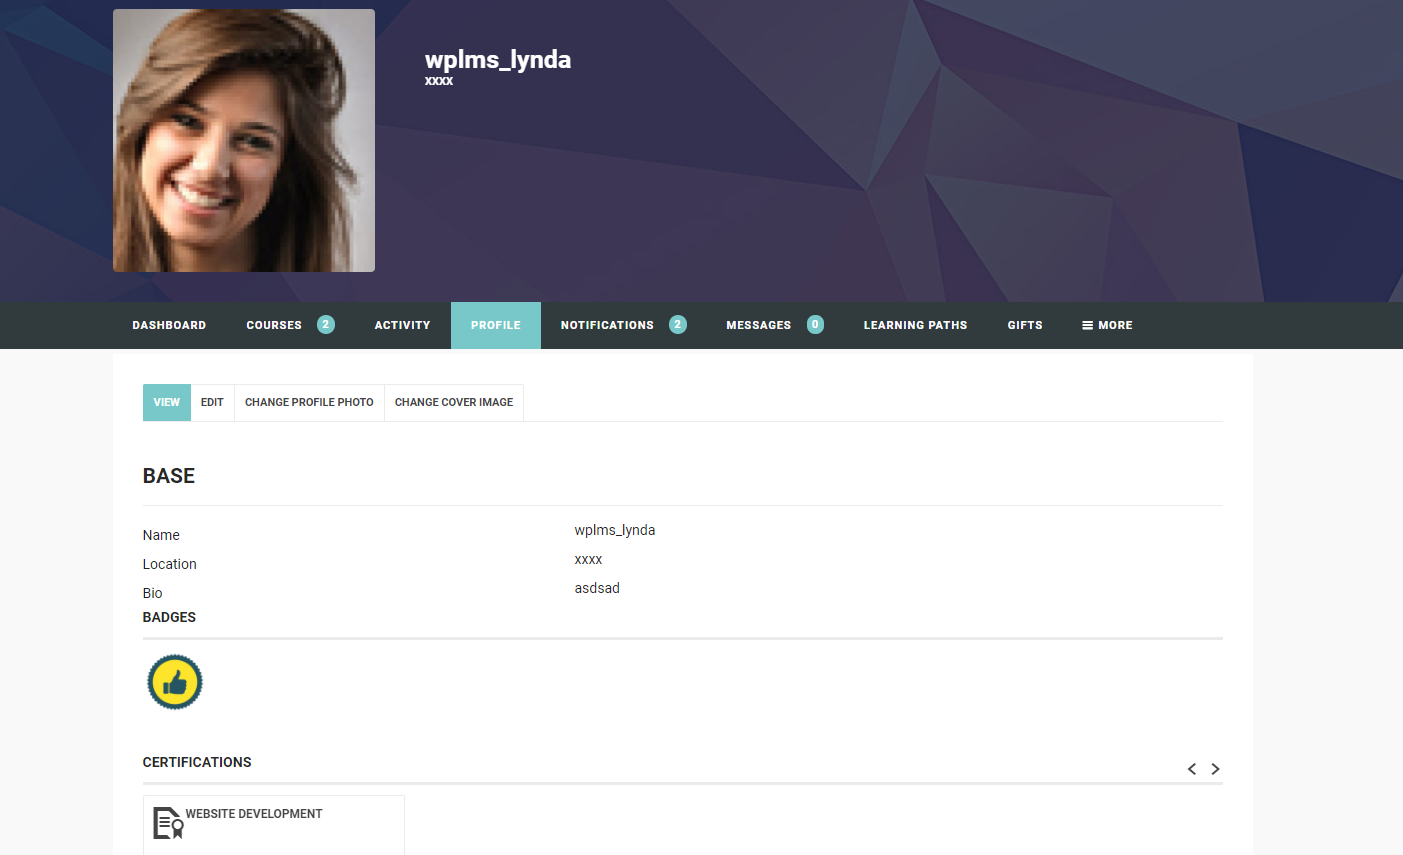
Badges And Certificates
- If the student has got course pecentage above the Badge percentage then the student gets a badge. This badge is shown in students profile.
- If the student has got course percentage above the passing percentage then the student gets a passing certificate. This certificate is shown in the Students profile page. The student can also print this certificate.
Interaction
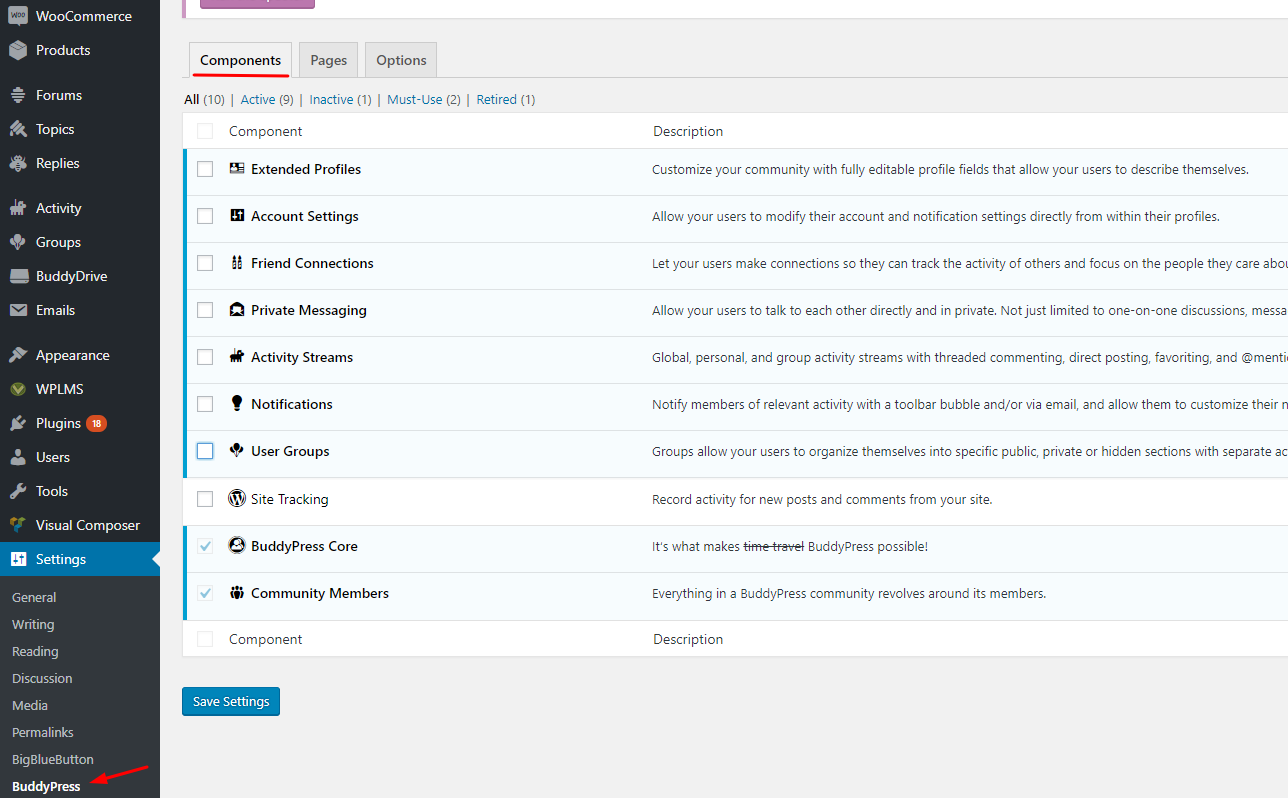
BuddyPress offers a variety of components to promote interaction among students and instructors. BuddyPress is set up as a plugin that can be added to a WordPress site. It’s a large plugin, and it adds a lot of functionality. Users can create and update their profiles, send private messages to one another, befriend and de-friend each other, form and join groups, participate in forum discussions, and more. There are some core features which are discussed below:
Extended Profiles
Users can update their profiles from their profile section. They can update their profile photo, update or change their cover image, update about your location and bio.
Activity Streams
Activity streams aggregate all of your activities across a BuddyPress installation. Enabled BuddyPress components make use of the activity stream component, which means any sort of activity can be recorded. Blogs posts, new friendships and blog comments are among the most popular activities recorded.
Friends
If Friendship component is enabled in buddypress then a student can send friendship request to other members (students+ instructors). Friends have access to send private message and invite each other groups etc.
Private Messaging
Private messaging allows greater interaction among students.Members can message other people on their friends list as well as reply to received messages. Each member has their own individual Inbox and Sent messages folders as well as a Compose message screen. Members are notified of new messages in three ways:
- By email (if enabled by the user)
- By an incremented number in the notification circle located in the WP Admin Toolbar
- By an incremented number in the Messages tab if the user is on their own profile
Quiz and Course results are sent to users via private messaging, wherein students can directly interact with their instructor on the results.
Groups
Groups are a very powerful component of BuddyPress which allows greater levels of interaction. Each course can be connected to a Group and while students access to course is limited but a student is a lifetime member to a course. Using external plugins like Group documents, instructor can send assignments to students via this mode.
Forums
Each course and unit can be connected to forums. Each group can also be connected to a forum. If the group is private then the forum access is allowed only to group members. Which make the forum an exclusive forum for course members. We recommend connecting this same forum with the Groups course.
To read about buddypress features in detail : Link
Video Tutorial
WPLMS Student User Flow
WPLMS Assignment Student Flow
Like WPLMS ?
Rate us at Themeforest
Every rating counts and helps us to improve WPLMS. How to rate WPLMS ?
Not Happy ?
Send us an email at vibethemes@gmail.com and share feedback.